Video Walkthrough
Pucci Found a Hidden SSD!
Pucci has found an M.2 NVME SSD (marked D) with Windows® already pre-installed on the drive. Take your M.2 NVME SSD out of its packaging, holding onto the edges of the drive.
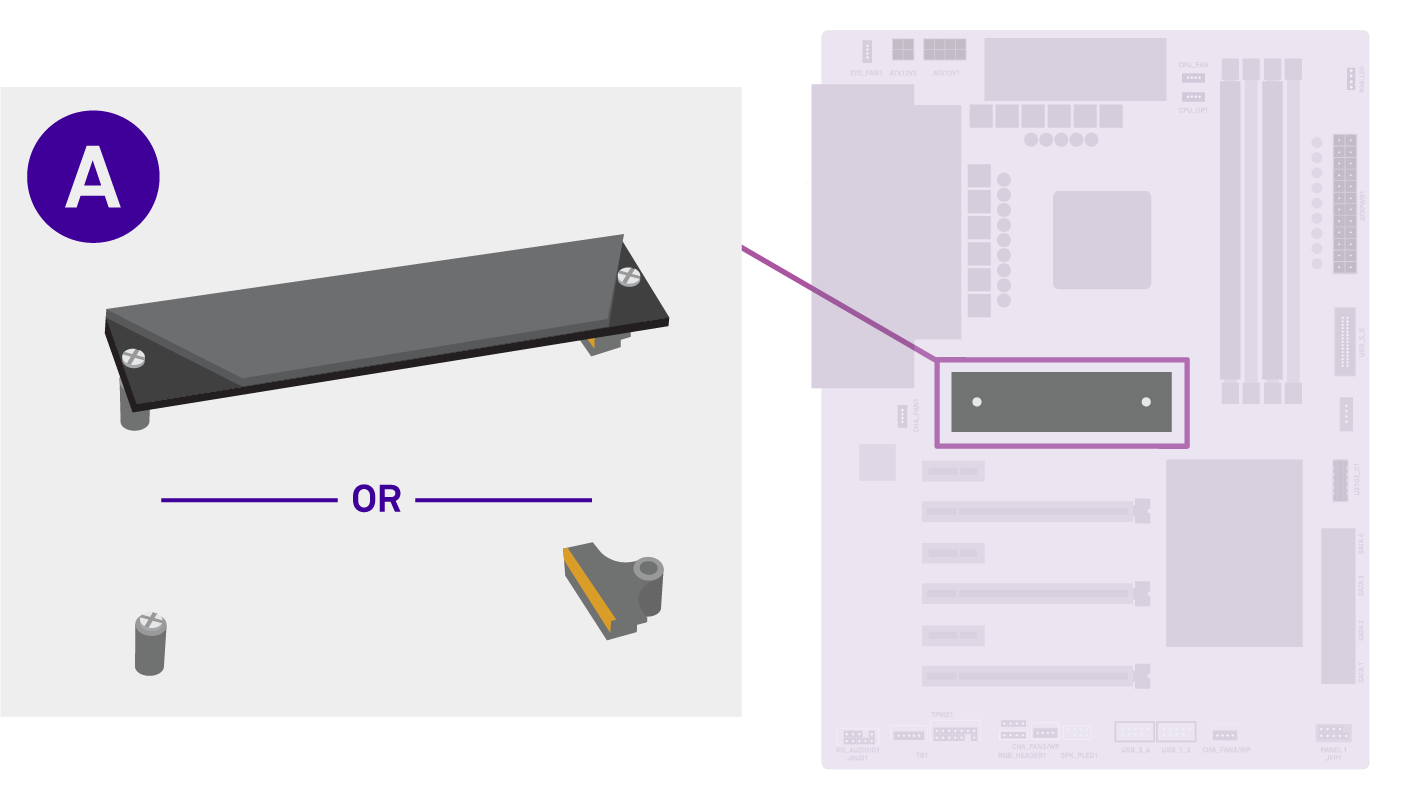
A. Locate the M.2 NVME Slot
Not all motherboards have an M.2 shield. Sizes of shield may vary.
Near the middle of the motherboard, typically just below the CPU, you will find a slot for the M.2 drive. It is sometimes covered by an M.2 shield (2 screws), and sometimes it is attached by the port itself (1 screw). Check your motherboard manual if unsure.
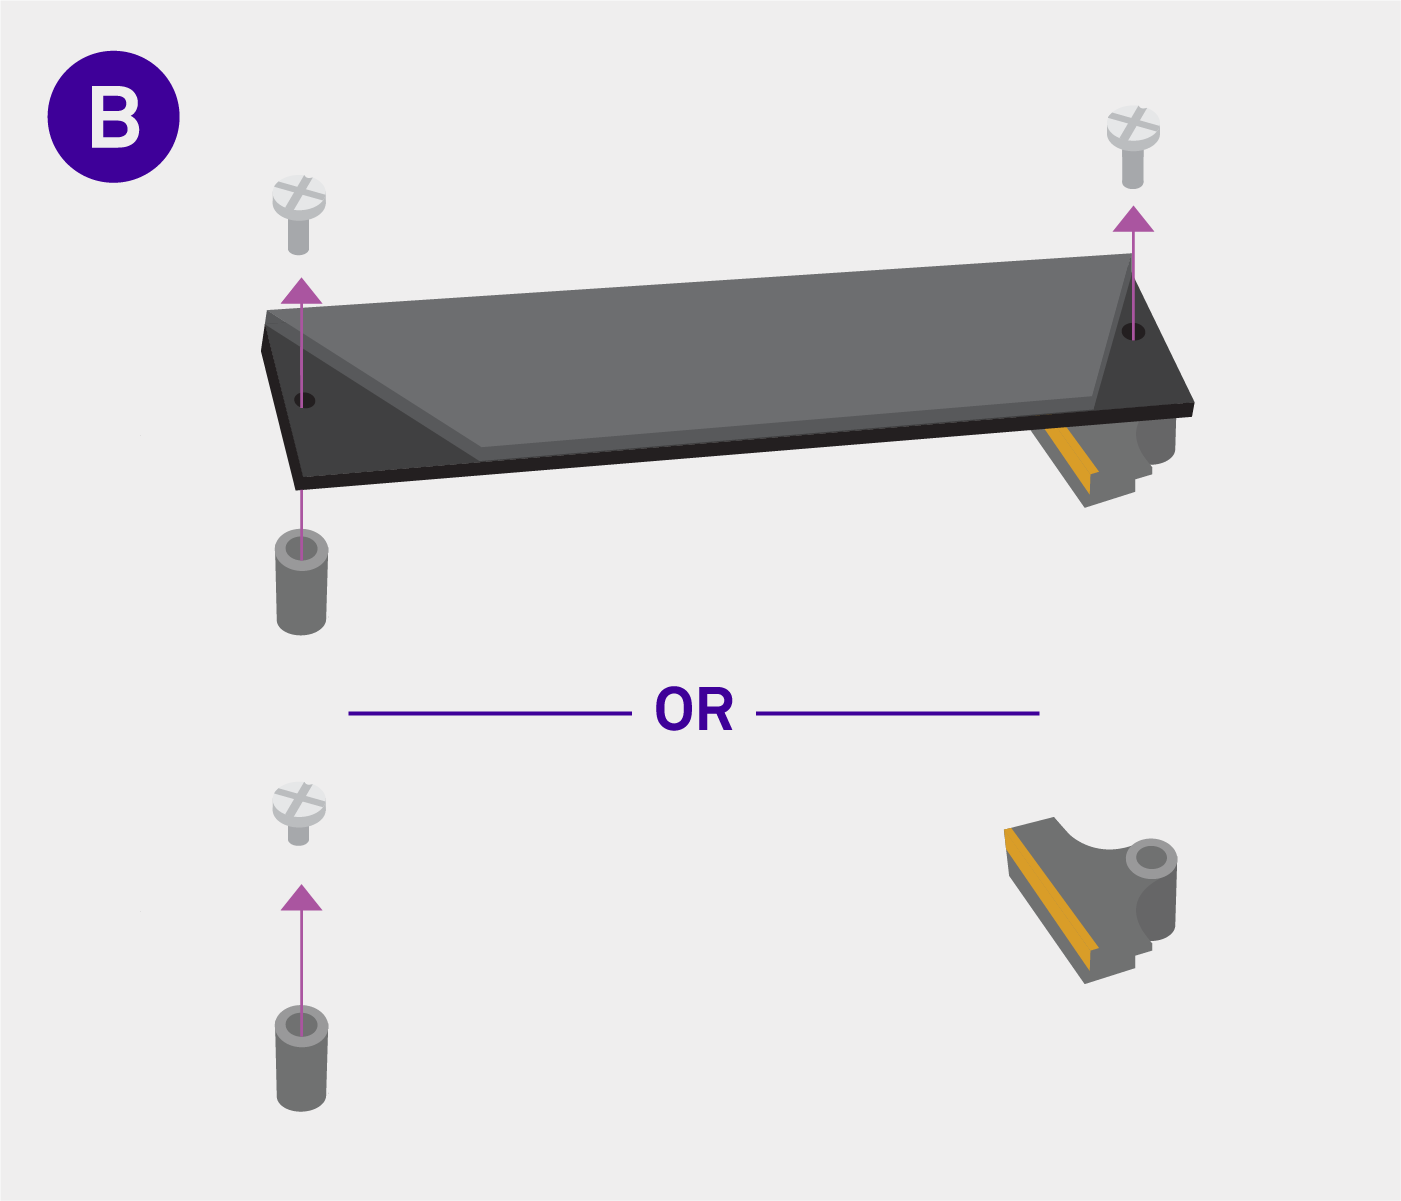
B. Remove the Screws
Depending on your motherboard, you may have 1 to 3 screws. Some boards have the screws provided separately in the box.
Determine if there is an M.2 shield that needs to be removed. If so, unscrew it from the board.

C. Set Aside the Screw(s)
If you have an M.2 shield, you may have a second or third screw.
The screw(s) you just removed from the board will be used in attaching the M.2 drive. Keep track of where you put them. They may vary in length and size depending on your motherboard.
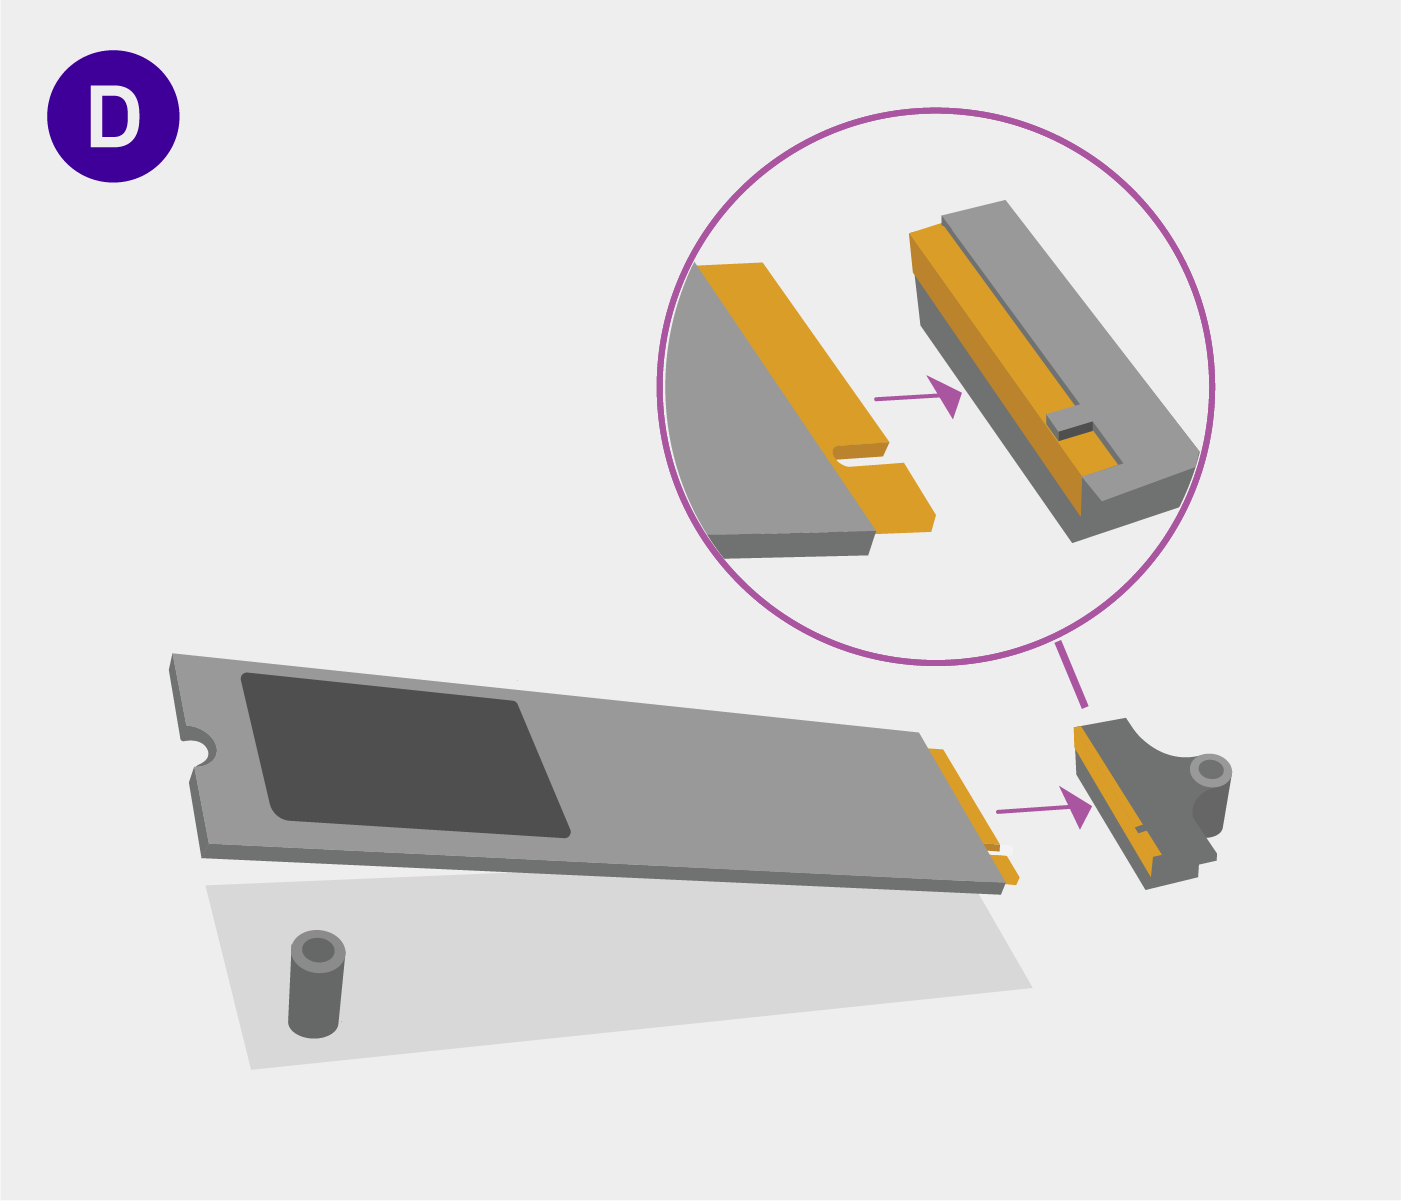
D. Insert the SSD
Insert the SSD at an angle, matching the notch to the connector. If done correctly, the gold should not be visible.
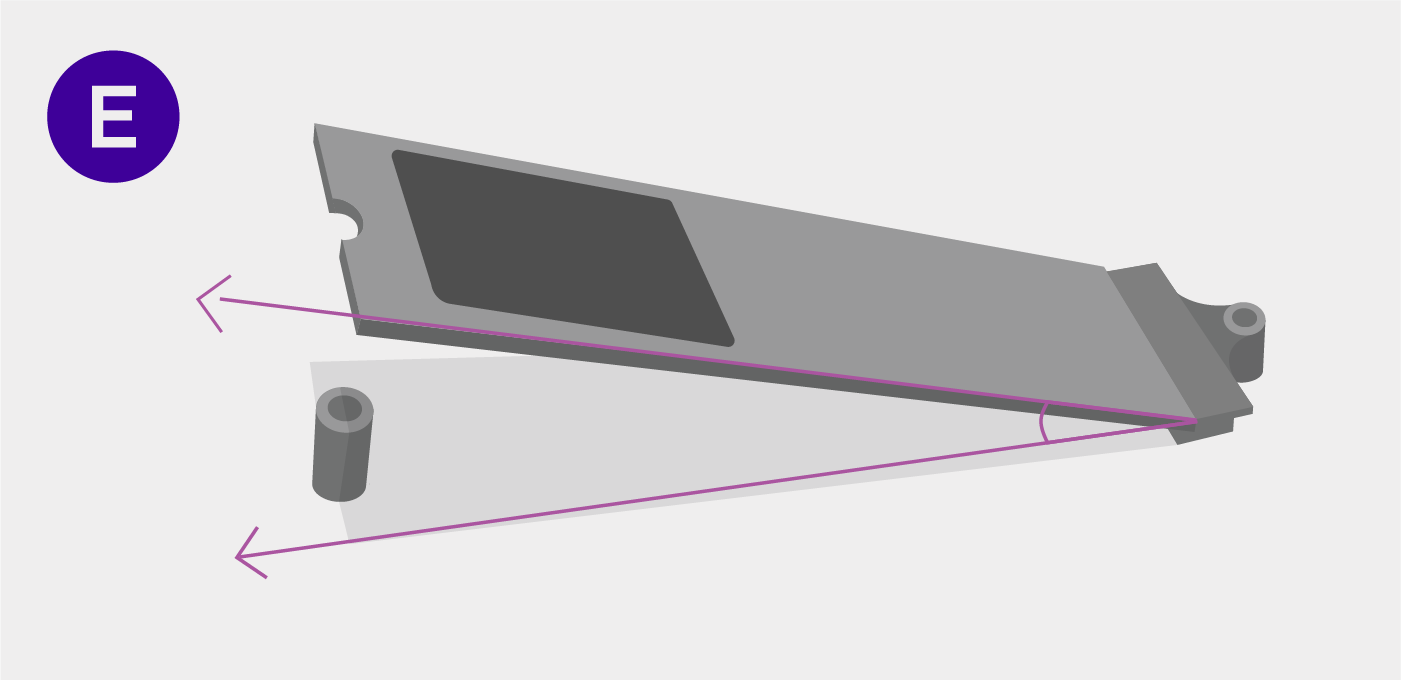
E. Ensure Proper Seating
Your SSD will be pointing upwards at an angle. If it is not, retrace step D and make sure the drive is properly installed.
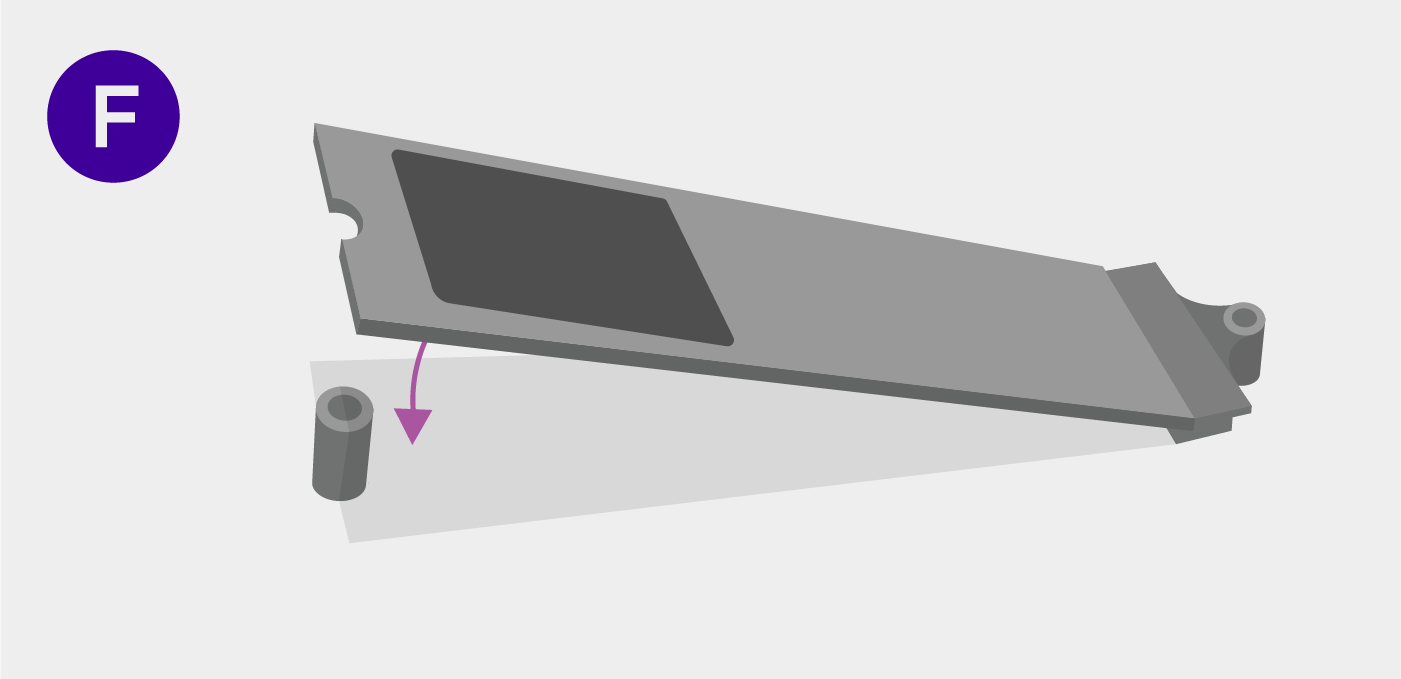
F. Push Down the M.2 Drive
With the shield on top of the M.2 drive (if one came with your motherboard), push down the M.2 SSD towards the board.
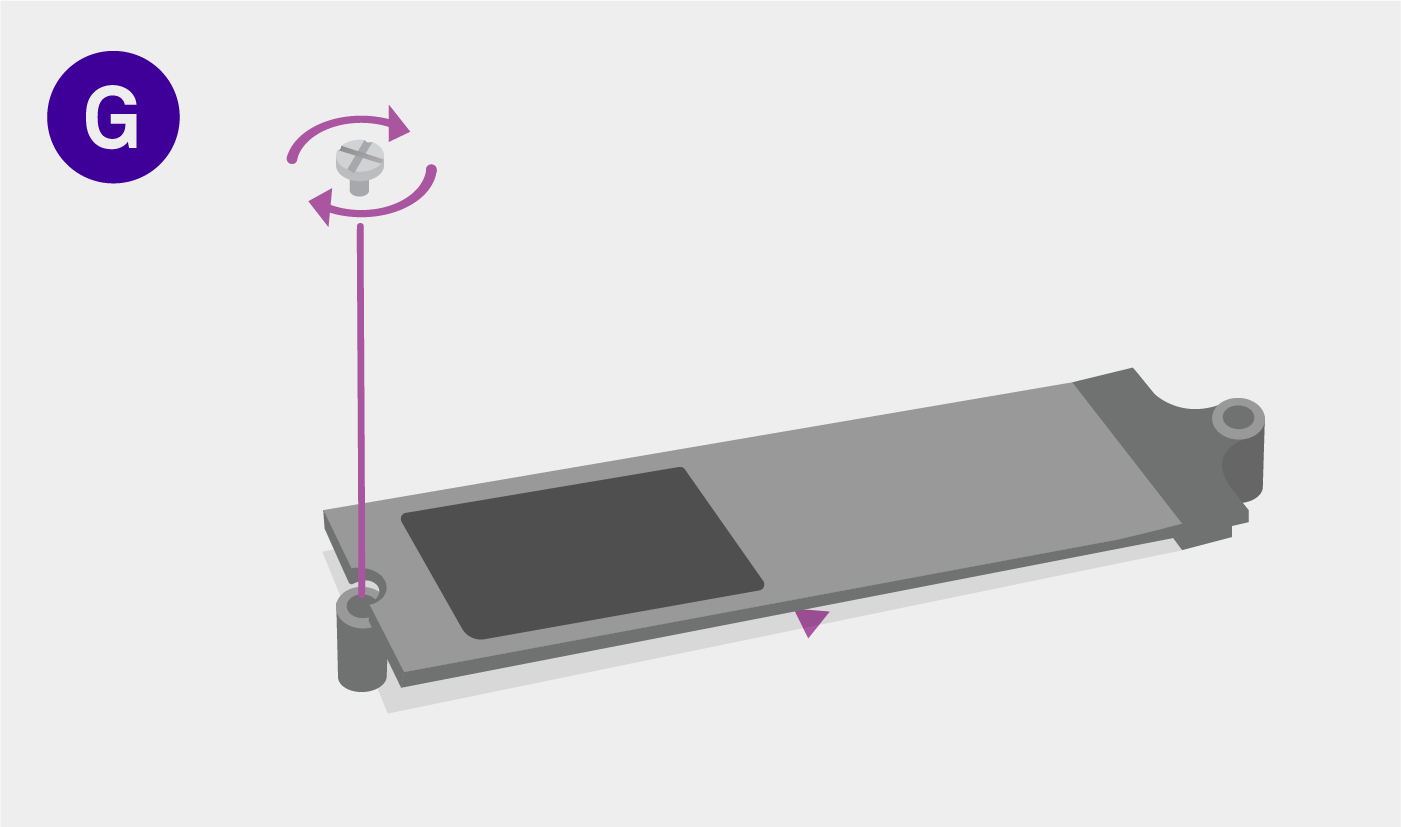
G. Screw in the SSD
You may need to skip this step if you have an M.2 Shield and removed exactly 2 screws on step B.
Fasten the screw you removed on step B (or alternatively one you can find in your motherboard box) to secure the SSD.
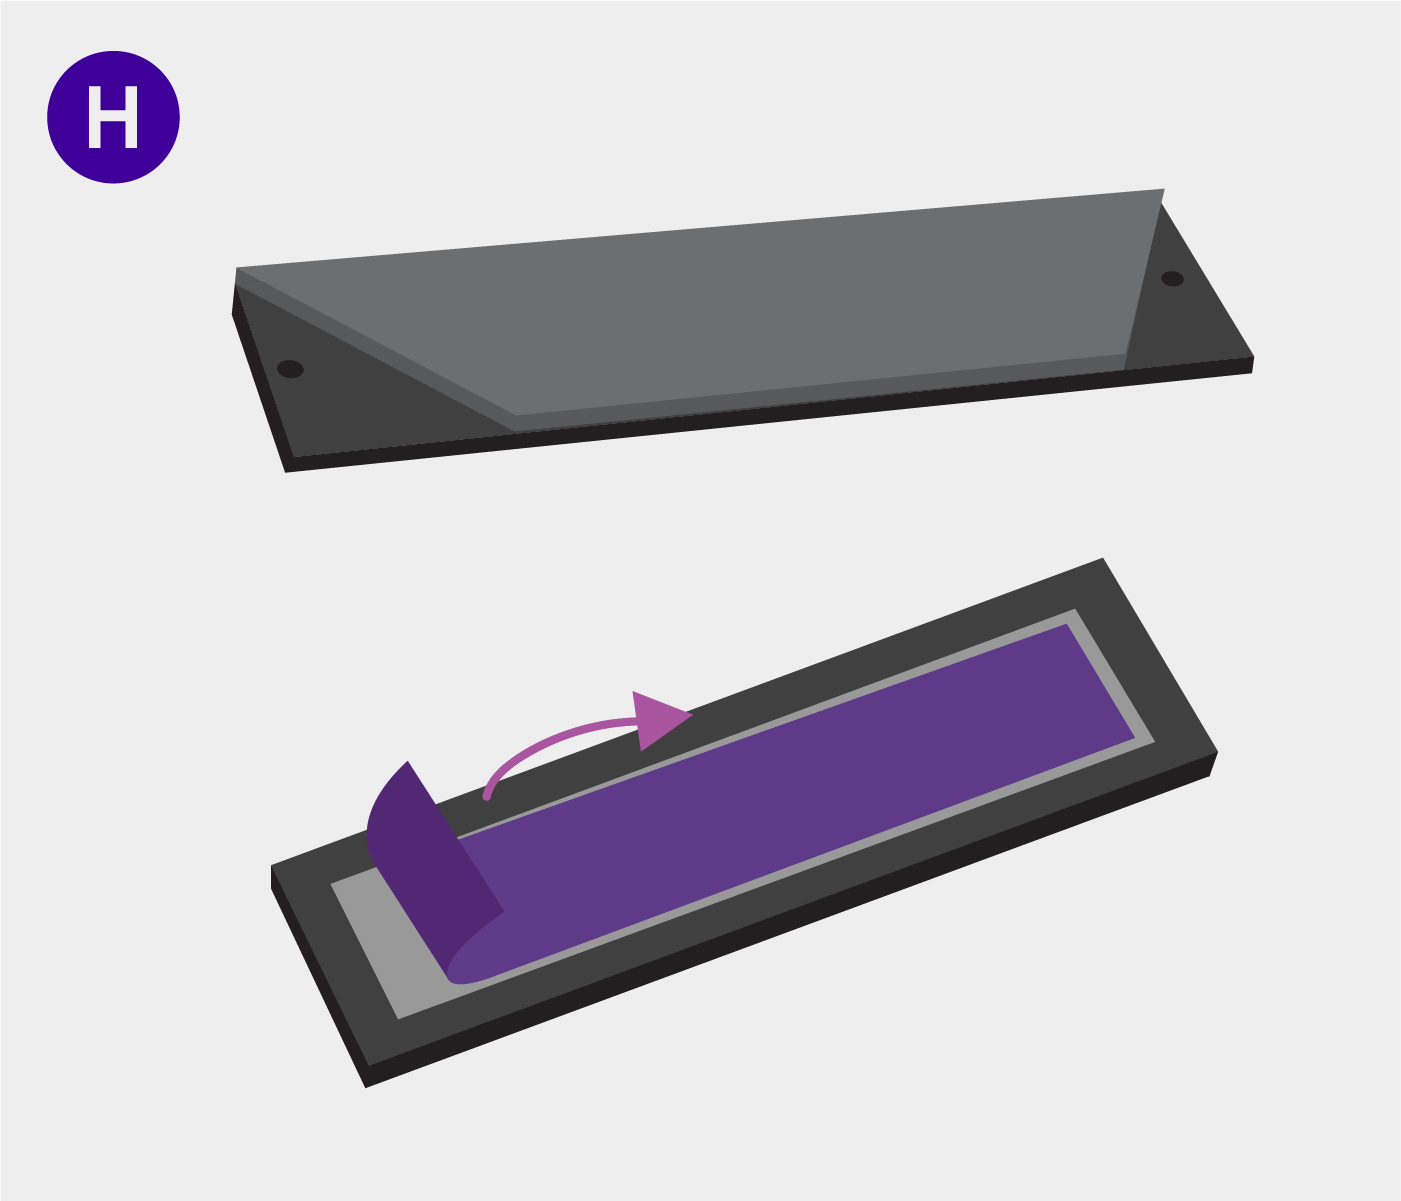
H. Peel off the M.2 Shield Plastic
If you have an M.2 Shield: Peel off the plastic from the bottom of the M.2 shield. Missing this step may cause your drive to overheat.
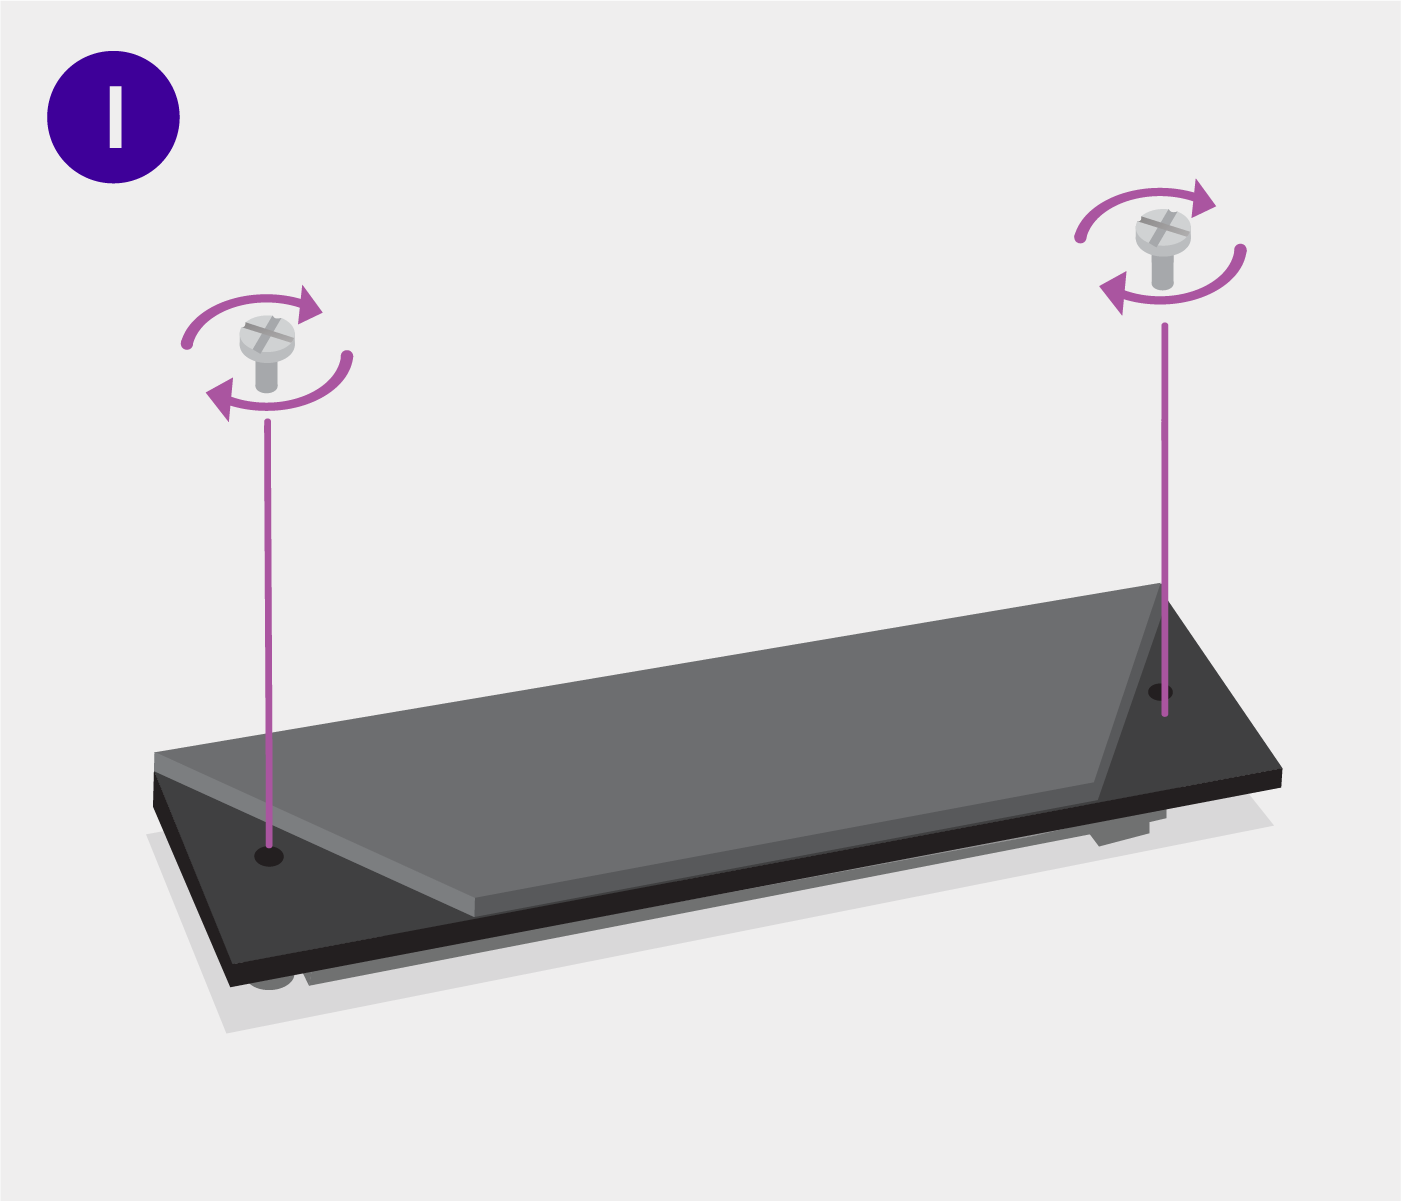
Screw in the M.2 Shield
If you have an M.2 Shield: Holding the SSD to the board, screw the SSD onto the motherboard using the 2 screws you set aside on step C.

Online Tech Chatnzxt.com/support |
Call Center1 (844) 791-1341 |